


Food Preservation and Waste Reduction
In the February 2023 Garden-to-Kitchen blog, we introduced food waste reduction, discussed harvesting entire garden beds, and urged readers to let their gardens rest before the spring planting season. This month, we will examine different ways to preserve food as another means to tackle food-waste reduction.
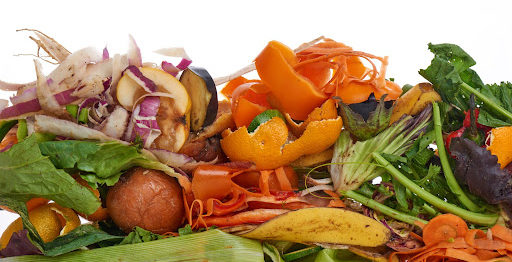
Worldwide, one third of food produced goes uneaten, and 40% of food waste in the United States comes from consumers (Leah’s Pantry, “Food Smarts: Waste Reduction”). Using a variety of food preservation techniques at home, in the garden and kitchen, is a great way to help address this important issue.
Food Preservation:
While the garden beds are resting, make plans to use the harvested produce for meals now and in the future. While some produce can be stored fresh on the counter or in the fridge to be cooked in the coming weeks, remaining produce can be frozen, canned, or dried for future use.
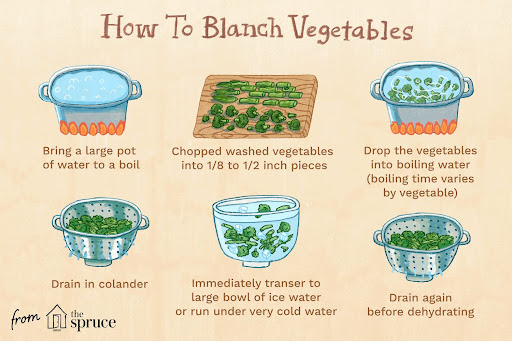
- Freezing: Freezing produce is effective and accessible. Many people already have access to freezers and freezer bags. Frozen foods can be used for three to six months. Freezing for more than six months leaves foods susceptible to freezer burn and worsened quality. Several factors can impact the shelf life of frozen food and include properly blanching the food, packaging food in appropriate materials, and storing food at an acceptable temperature. Read about more tips on freezing.
- Canning: Canning refers to water-bath canning and pressure canning techniques. Products high in acid or sugars (pickles, jellies, jams) can be safely water-bath canned because they have low pH levels. Pressure canning is useful for soups, meats, and low-acid products because this technique stops bacterial growth and safely preserves foods. Kept out of the sun, properly canned products can have a 12 to 18 month shelf life.
*Always use a tried-and-true canning recipe and procedure. Improperly canned products put you at high risk of e.coli and botulism, which can result in death.
- Drying/Dehydrating: Drying, or “dehydrating,” foods is less popular than freezing and canning, but is an equally trusted practice historically. Dehydrated foods are lightweight, easy to store, easy to carry, and can require no preparation when eating (think dehydrated apple or strawberry slices). Drying can be done in a conventional oven, a special dehydrator, or even in the sun, if your location’s climate allows. Read here for more extensive directions on drying foods at home.

Recipes:


Winter Garden Harvest
You may be surprised to learn that households waste more food than restaurants, grocery stores, farms, and manufacturing facilities combined, according to the North Carolina Department of Environmental Quality. About half of household waste is food waste. This waste makes up 18% of landfills, making it the largest component found in most landfills. Additionally, 34 million people are food insecure in the US.
When it comes to gardening, food waste is an important topic to consider.
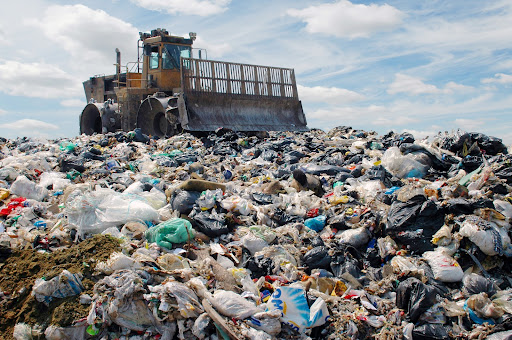
At the end of each garden season, most gardeners do a final harvest and clear out their beds in order to give the soil time to rest before adding new seeds and new transplants for the upcoming season. This big harvest day often yields a surplus of produce that is at risk of going to waste.
Over the next few months, Poe’s Garden-to-Kitchen team will share some tips and strategies for better harvesting and food preservation – so that you can help tackle food waste – starting in your own garden.
Harvesting
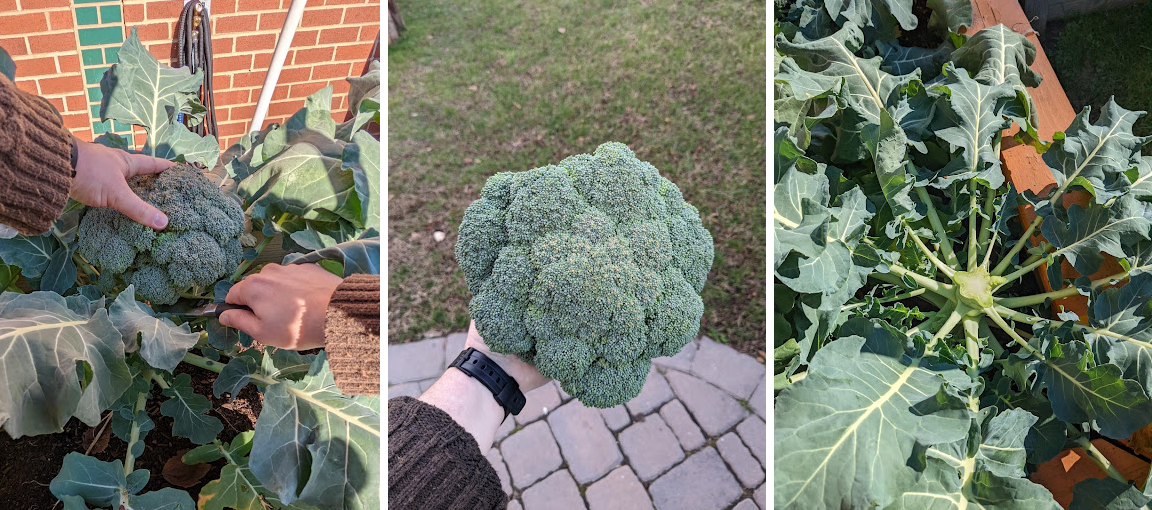
Many gardeners are often tempted to leave plants in their garden beds too long because the plants often still look good, or they may not be ready to plant for the next season. It is important to give your garden beds time to rest, which may mean harvesting and cleaning out beds earlier than you may think.
If you’re planning to sow seeds in March and transplant seedlings in April, strive to clean out your winter beds in February.
- Harvest all the produce first. Weigh and record the produce if you like to keep track of production. Bag and box the produce appropriately for the fridge or a cool dark pantry. Set aside to be gifted, eaten soon, or cleaned and preserved.
- Once the food has been harvested, pull everything else out of the beds, including the roots. This plant waste can be chopped and tossed in a compost pile with dry leaves on top pile with dry leaves on top to be used later as fertile soil. If your garden beds will be left undisturbed for many months (i.e. all of fall and winter), some gardeners recommend leaving roots in the soil to decompose.
- Once the garden bed has taken a long nap, amend your garden beds with compost in March. Conduct a soil test to determine the pH and nutrient content. This can be done by submitting a soil sample to your county’s Cooperative Extension.
Preservation
Some produce, such as melons, garlic, and onions, can be stored at room temperature in a cool, dark place. Perishables, such as collard greens, kale, brussel sprouts, and broccoli will benefit most from being stored in the fridge and used for meals within two weeks.
If you’ve got more produce than you plan to eat before it goes bad, consider gifting your harvest to others or preserving it for future use.
Food preservation includes freezing, drying, salting, and canning. Consider turning produce into a soup, stock, or prepared dish that can be frozen or canned. Pickling vegetables is another great way to keep your harvest fresh..
Kale Recipes
You can also use up your harvest and reduce waste by trying new recipes. Here are a few to try.



Further Reading
Come back next month for more information about reducing food waste and food preservation tips. April will be our first ever Garden to Kitchen vlog! In the meantime, read more about food waste reduction.
Kale All Winter
All hail kale! Kale is worthy of praise as one of North Carolina’s most cold-hardy and problem-free crops. This month, learn how to get the most out of your kale through the winter, as well as how to deter pests and diseases in the coming spring.
Winter Care:
- Kale will grow in temperatures as low as 20°F.
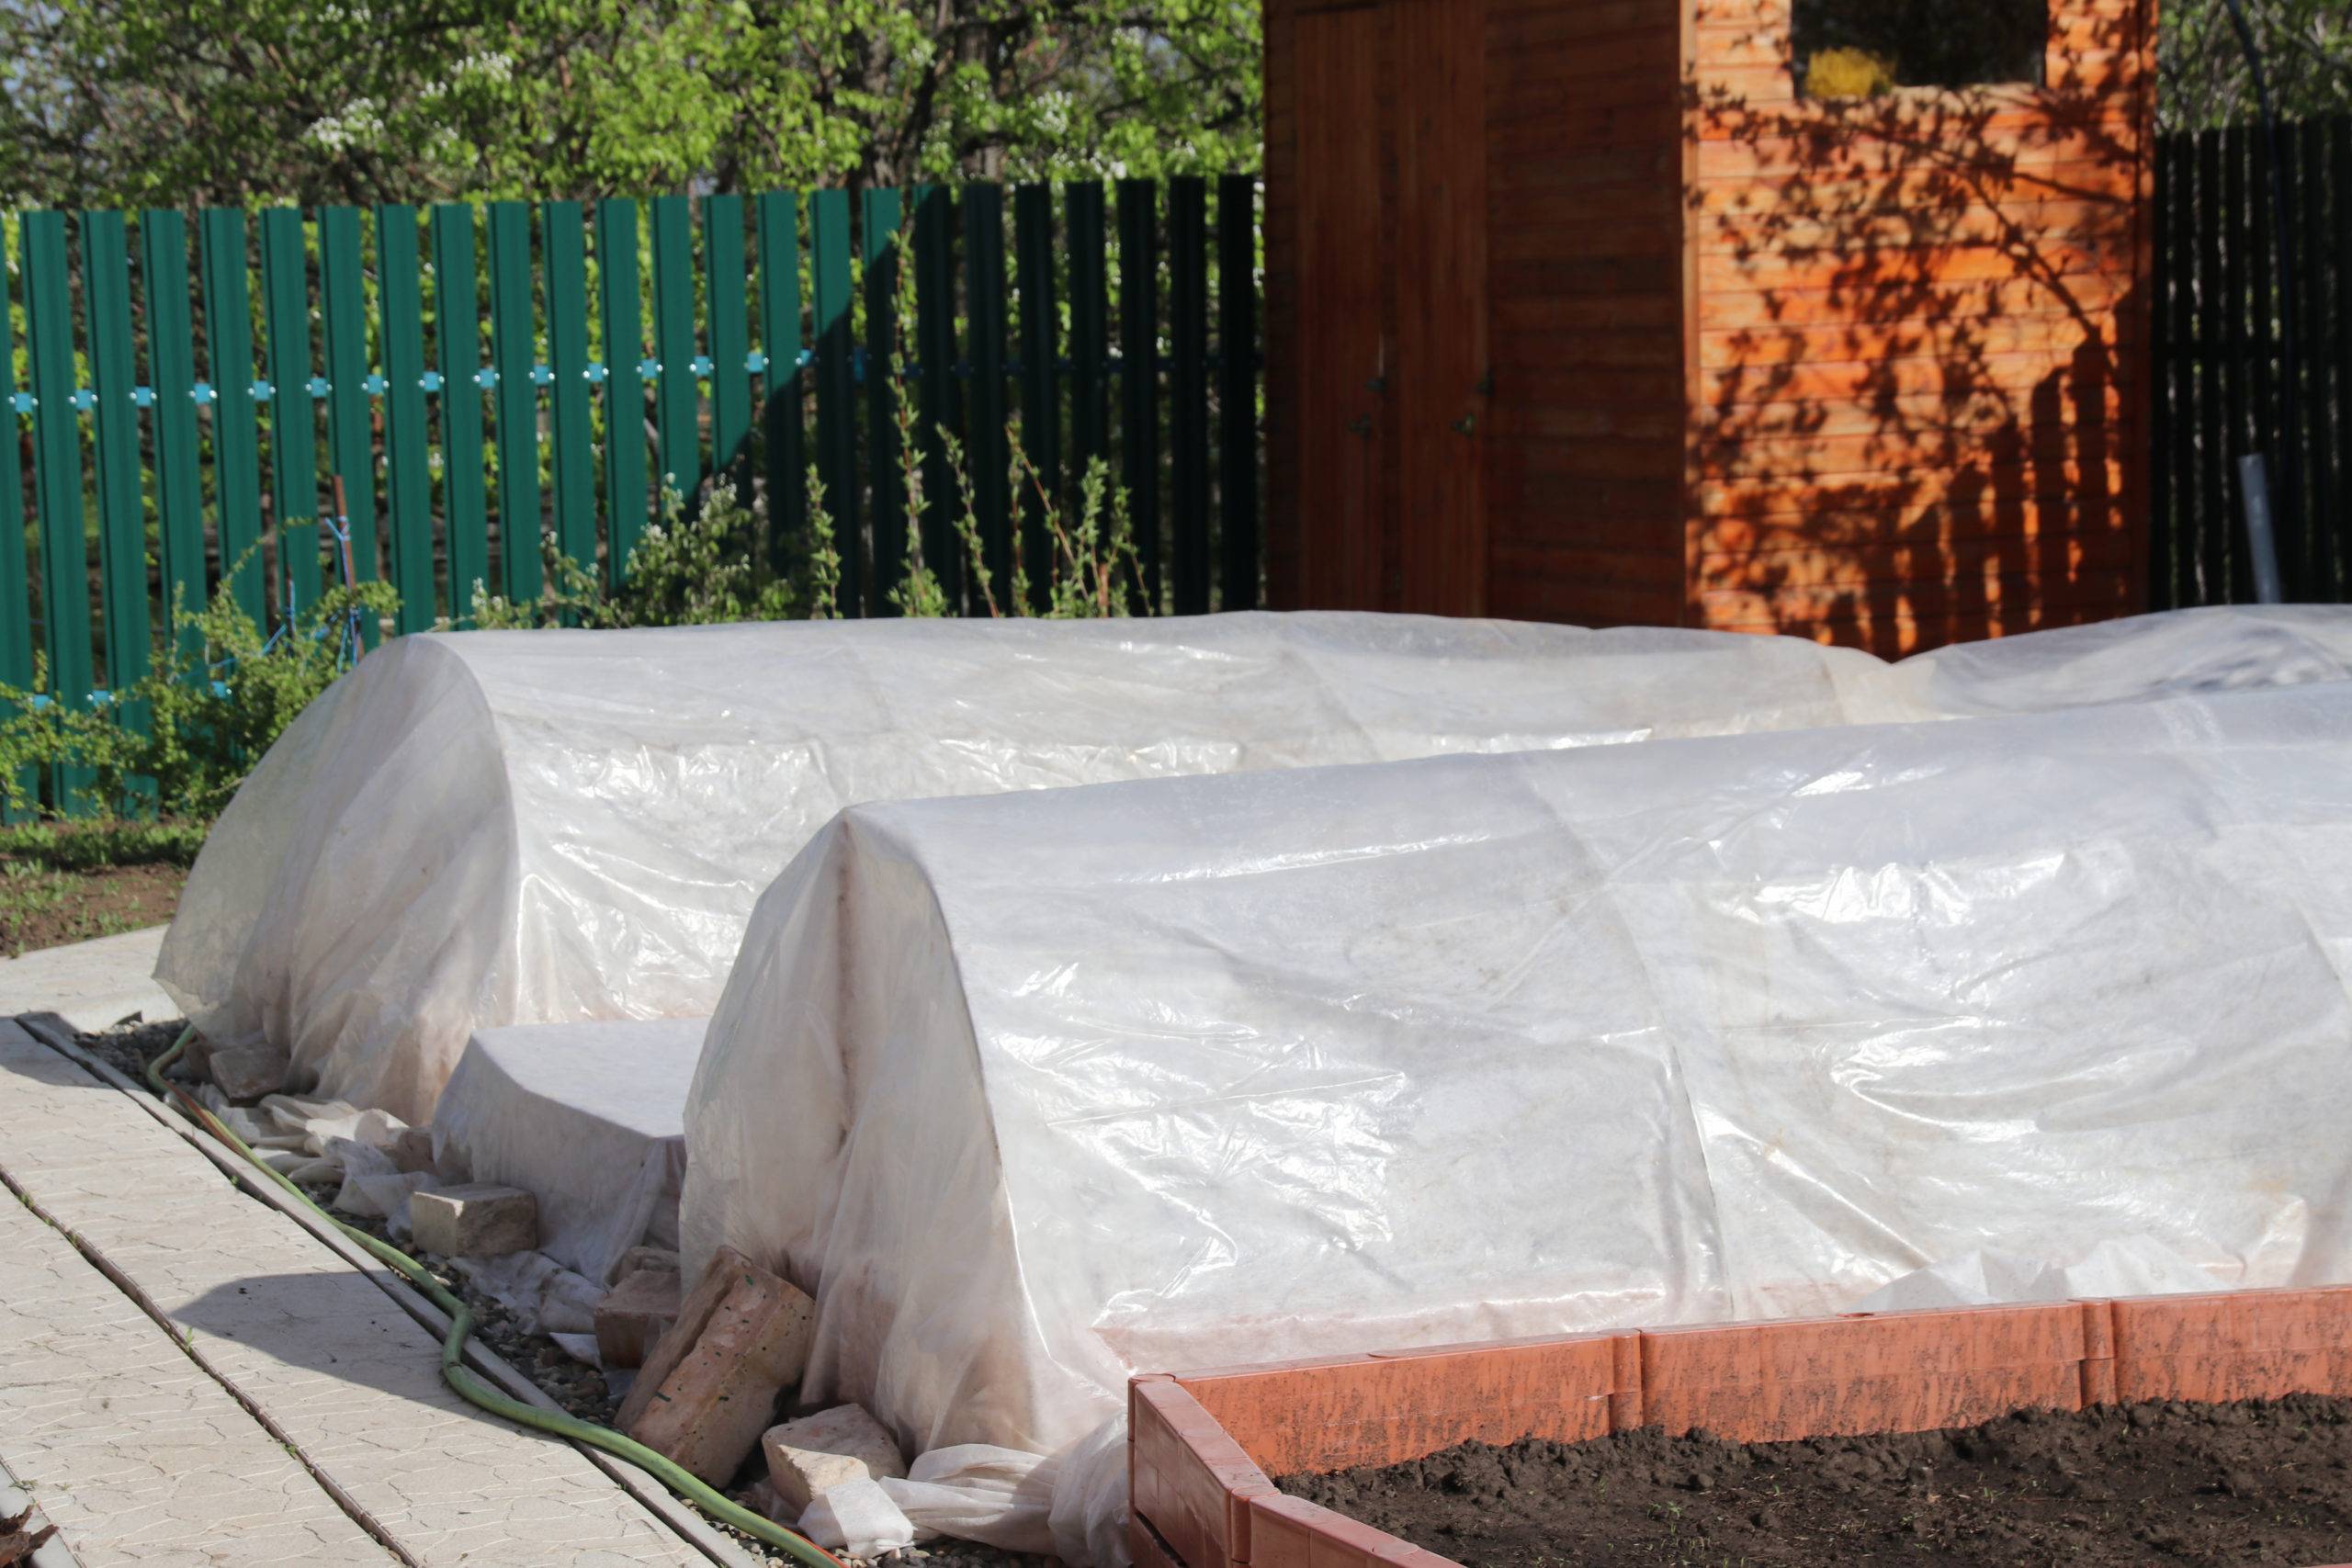
- If a hard freeze is expected, insulate the plants with something you have around the house, such as tarps, old sheets, cardboard boxes, or even overturned buckets.
- Try to keep the kale leaves from coming in contact with the cold covers.
- Watering the soil 24 hours before a hard freeze can actually help kale defend against the cold since moist soil retains heat better than dry soil.
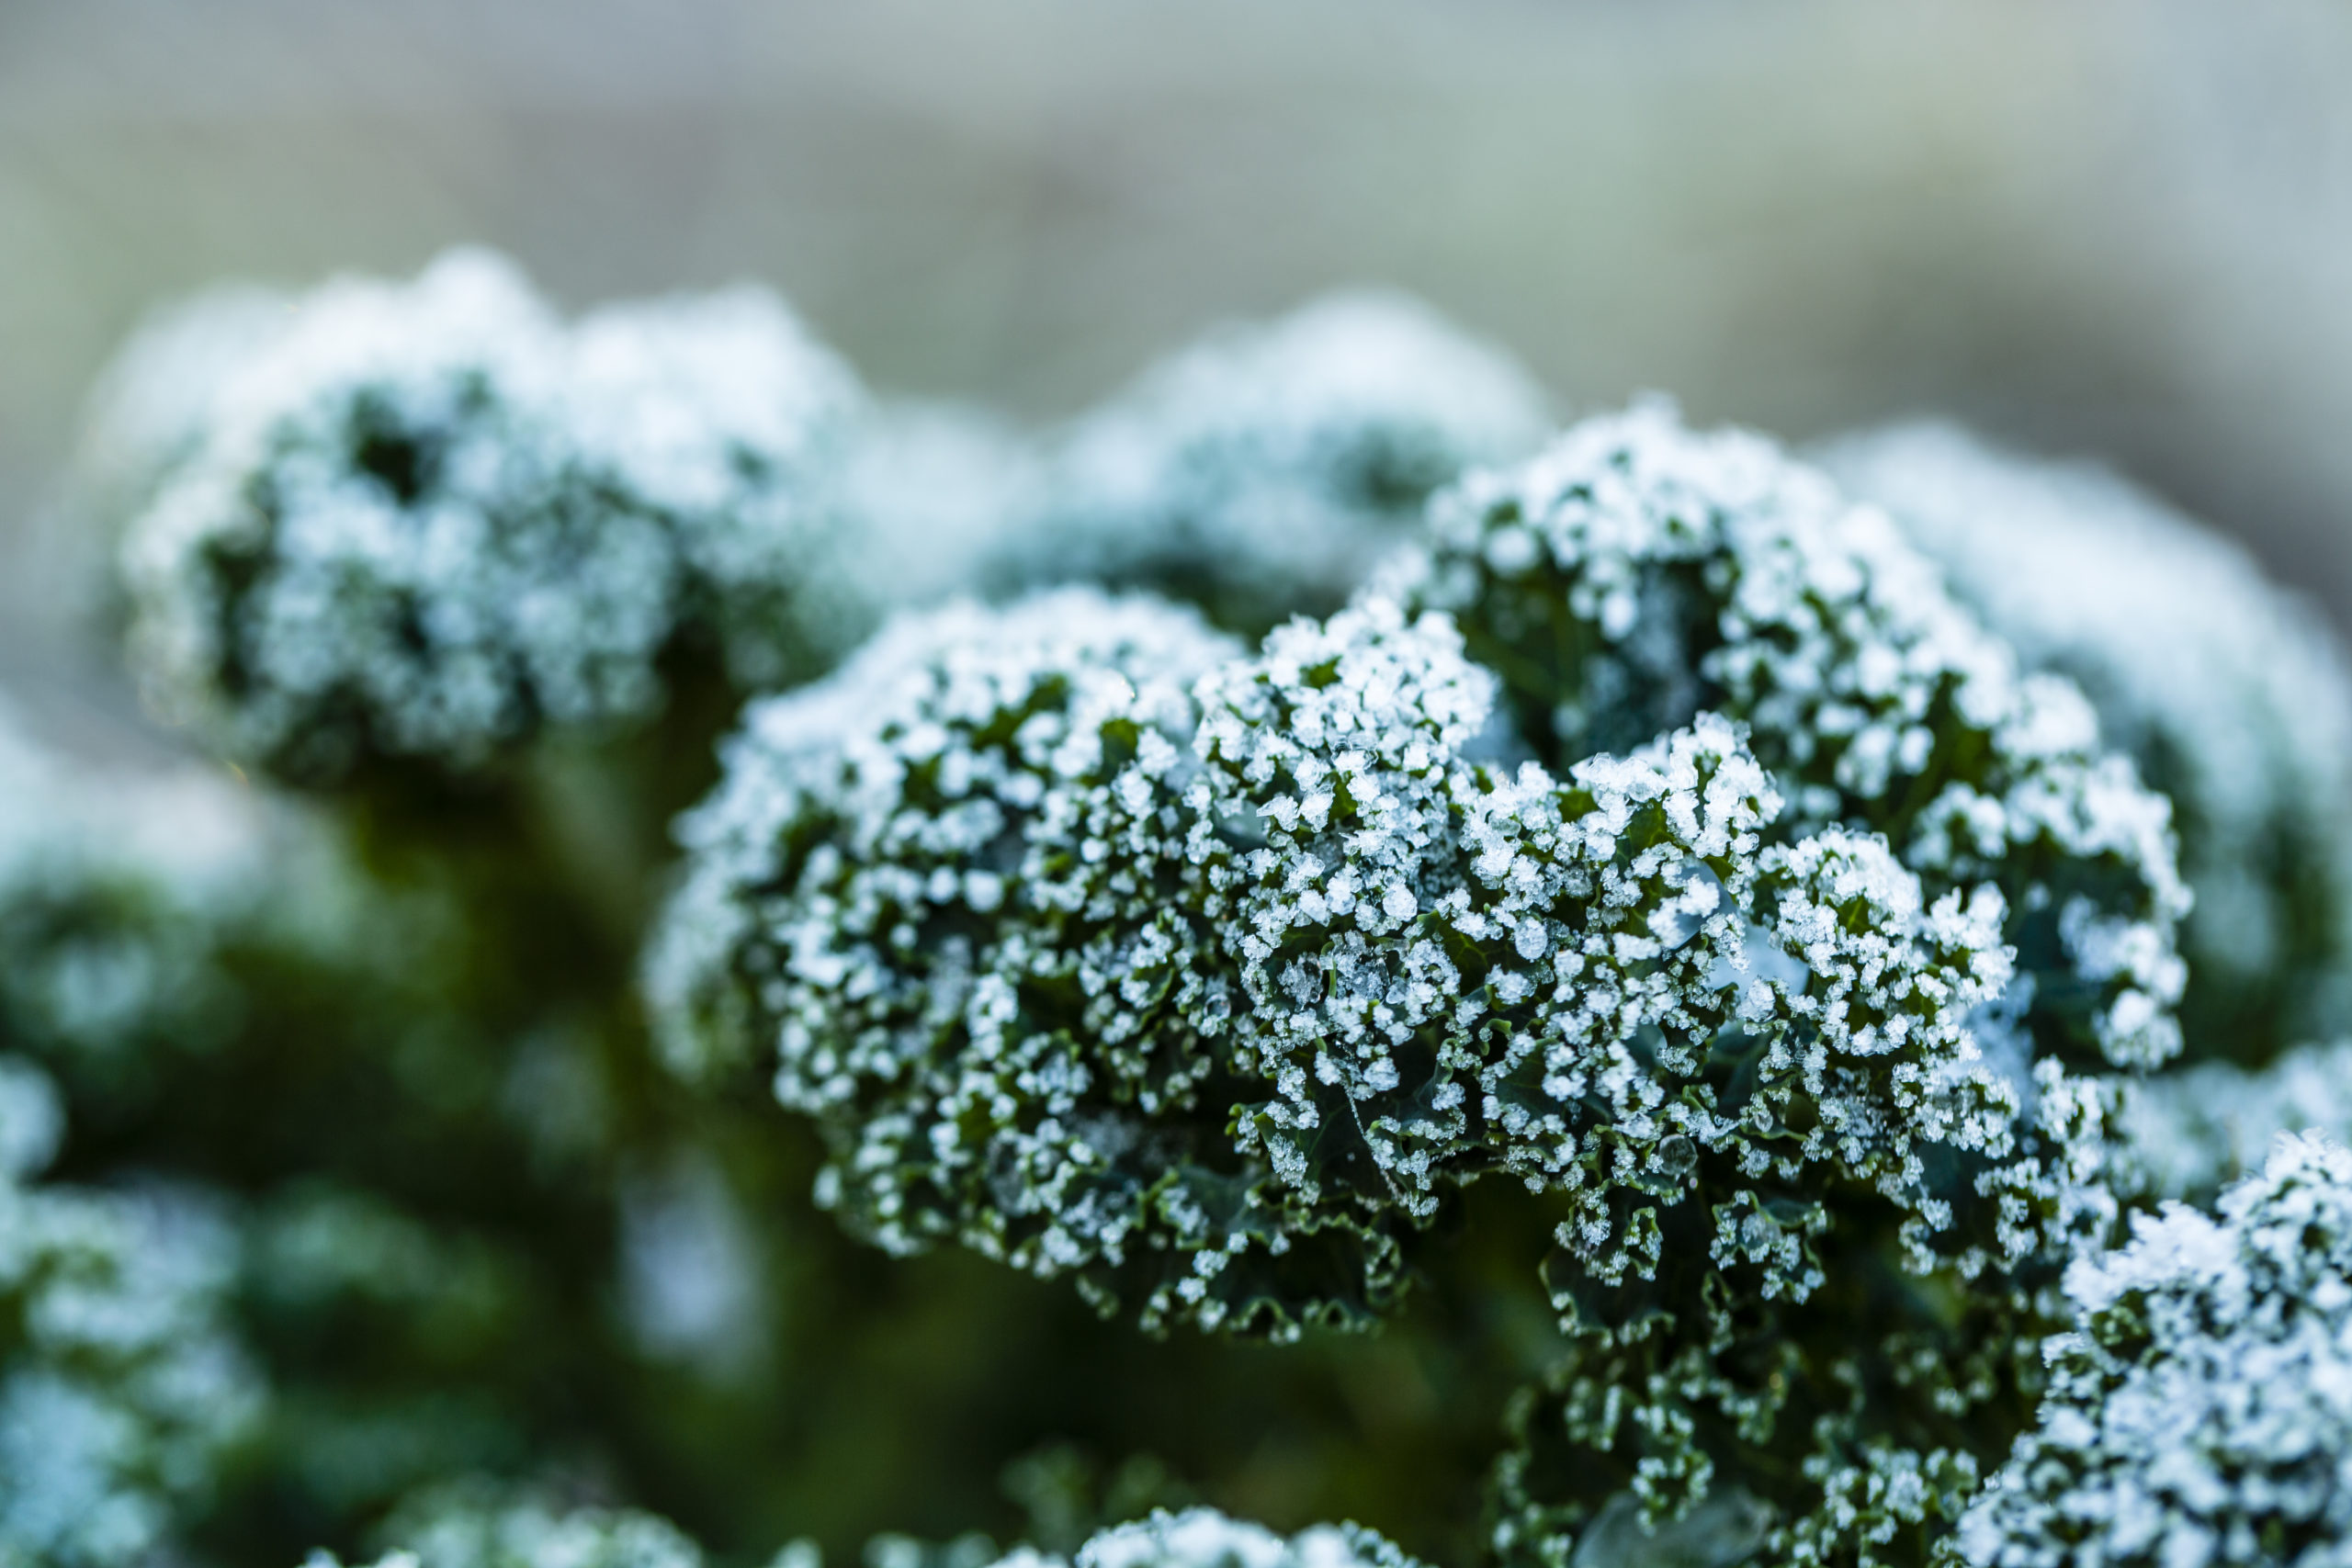
- If ice or snow coats the leaves, resist the urge to shake it off. Let it melt naturally. Physically moving frozen leaves can damage plant cells and cause breakdown.
- Keep harvesting those lower kale leaves all winter so your plants get the signal to keep growing younger, softer leaves.
Pests / Diseases:
Kale has relatively few problems when it comes to pests and diseases. Aphids, cabbage worms, and black rot are a few examples.
Luckily, you can take easy steps to prevent and treat most kale issues. Set your plants up for success by practicing crop rotation – try not to plant kale, or other crops in the “brassica” family (ie. cabbage, broccoli, brussel sprouts, etc), in the same location more than once every 3-4 years.
If your kale does appear stressed (holes, discoloration, dying leaves, etc), the recommended treatment is usually in the short list below.
- Physically remove pests by hand or water stream.
- Spray leaves with an insecticidal soap.
- Remove infected plant parts.
- Add native plants so beneficial insects will come and eat the pests.
Learn more about specific kale pest/disease symptoms and control measures.
To the Kitchen:
Kale is an excellent source of Vitamin C, as well as other vitamins and minerals, and a great leafy green for its versatility. Read below to learn about kale preparation and explore delicious kale recipes.
Preparation of younger leaves:
More tender and most appropriate for salads, such as the one featured below.
Try massaging leaves with oil or salad dressing. This breaks down tough cellulose for a softer mouth feel texture while eating.
Preparation of older leaves:
If you’re not picking kale leaves straight from your garden every other day (most of us aren’t), chances are you have access to older, tougher leaves, rather than the younger, more tender leaves.
These bigger leaves are still delicious and are best sauteed, steamed, or incorporated into a soup.
Kale Recipes
Dark leafy greens, such as kale, contain lots of nutrients and are a great source of fiber. Kale is a cruciferous vegetable, quite versatile, and can be eaten raw or cooked.
If you don’t consume much dairy, consider dark leafy greens as a source of calcium. Kale is also a great source of iron, B Vitamins, and Vitamin C.


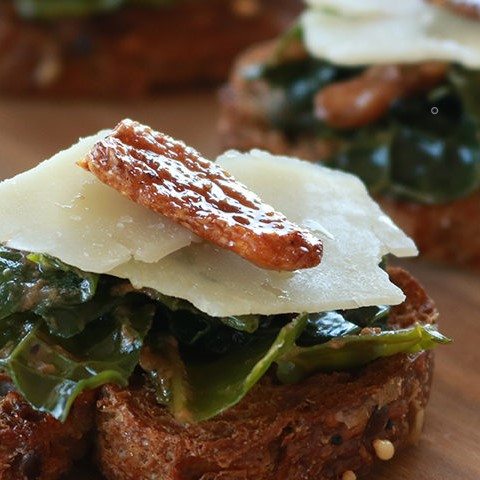

Kale Maintenance & Harvesting
Did you know that a kale plant can grow for 2 years and become as tall as you? It’s true! With strategic harvesting and care, the kale you plant this fall will feed your family for seasons to come. Learn more about kale maintenance, harvesting, preparation, and recipes that include kale in this month’s Garden-to-Kitchen blog.
Maintenance Tips:
- Water Regularly: Although fairly drought tolerant, 1-1.5 inches of water each week will help kale leaves grow quickly, which improves flavor. When watering, aim water towards the roots.
- Add Extra Mulch: 2-3 inches of mulch will help retain moisture and keep this cool season crop from getting overheated if temperatures rise above 75°F. The mulch will also help keep the roots warm during frigid winter days.
- Fertilize: If your kale is growing poorly or turning yellow, you may have a nutrient problem. Consider side-dressing with a high-nitrogen fertilizer.
*Side-dressing means to place a line of fertilizer about 4 inches from the stem on both sides of the plant.
Harvesting Tips:
Harvesting is one of the most important and easiest parts of kale maintenance. Don’t stop harvesting! It’s fun to continue to pick for desired tastes and textures.
- Mature leaves are ready to harvest when they are about the size of your hand.
- Pick the larger outer leaves to keep the plant producing. Cutting the top off the plant will slow growth considerably.
- Take no more than 1/3 of the leaves at a time.
- Pick younger leaves (1-3 inches long) for a softer texture that’s great in salads.
- Wait for the first freeze or colder temperatures for a sweeter tasting leaf.
- Harvesting is a great task for kids because the plant is tough, and the leaves tend to snap off easily if pulled in a downward direction.
- Keep harvesting those lower leaves! Over time, your kale plant may look something like an umbrella.
- Share extra harvest with friends, neighbors, chickens, or consider freezer storage.
To the Kitchen:
Kale is an excellent source of Vitamin C, as well as other vitamins and minerals, and a great leafy green for its versatility. Read below to learn about kale preparation and explore delicious kale recipes.
Preparation of younger leaves:
More tender and most appropriate for salads, such as the one featured below.
Try massaging leaves with oil or salad dressing. This breaks down tough cellulose for a softer mouth feel texture while eating.
Preparation of older leaves:
If you’re not picking kale leaves straight from your garden every other day (most of us aren’t), chances are you have access to older, tougher leaves, rather than the younger, more tender leaves.
These bigger leaves are still delicious and are best sauteed, steamed, or incorporated into a soup.