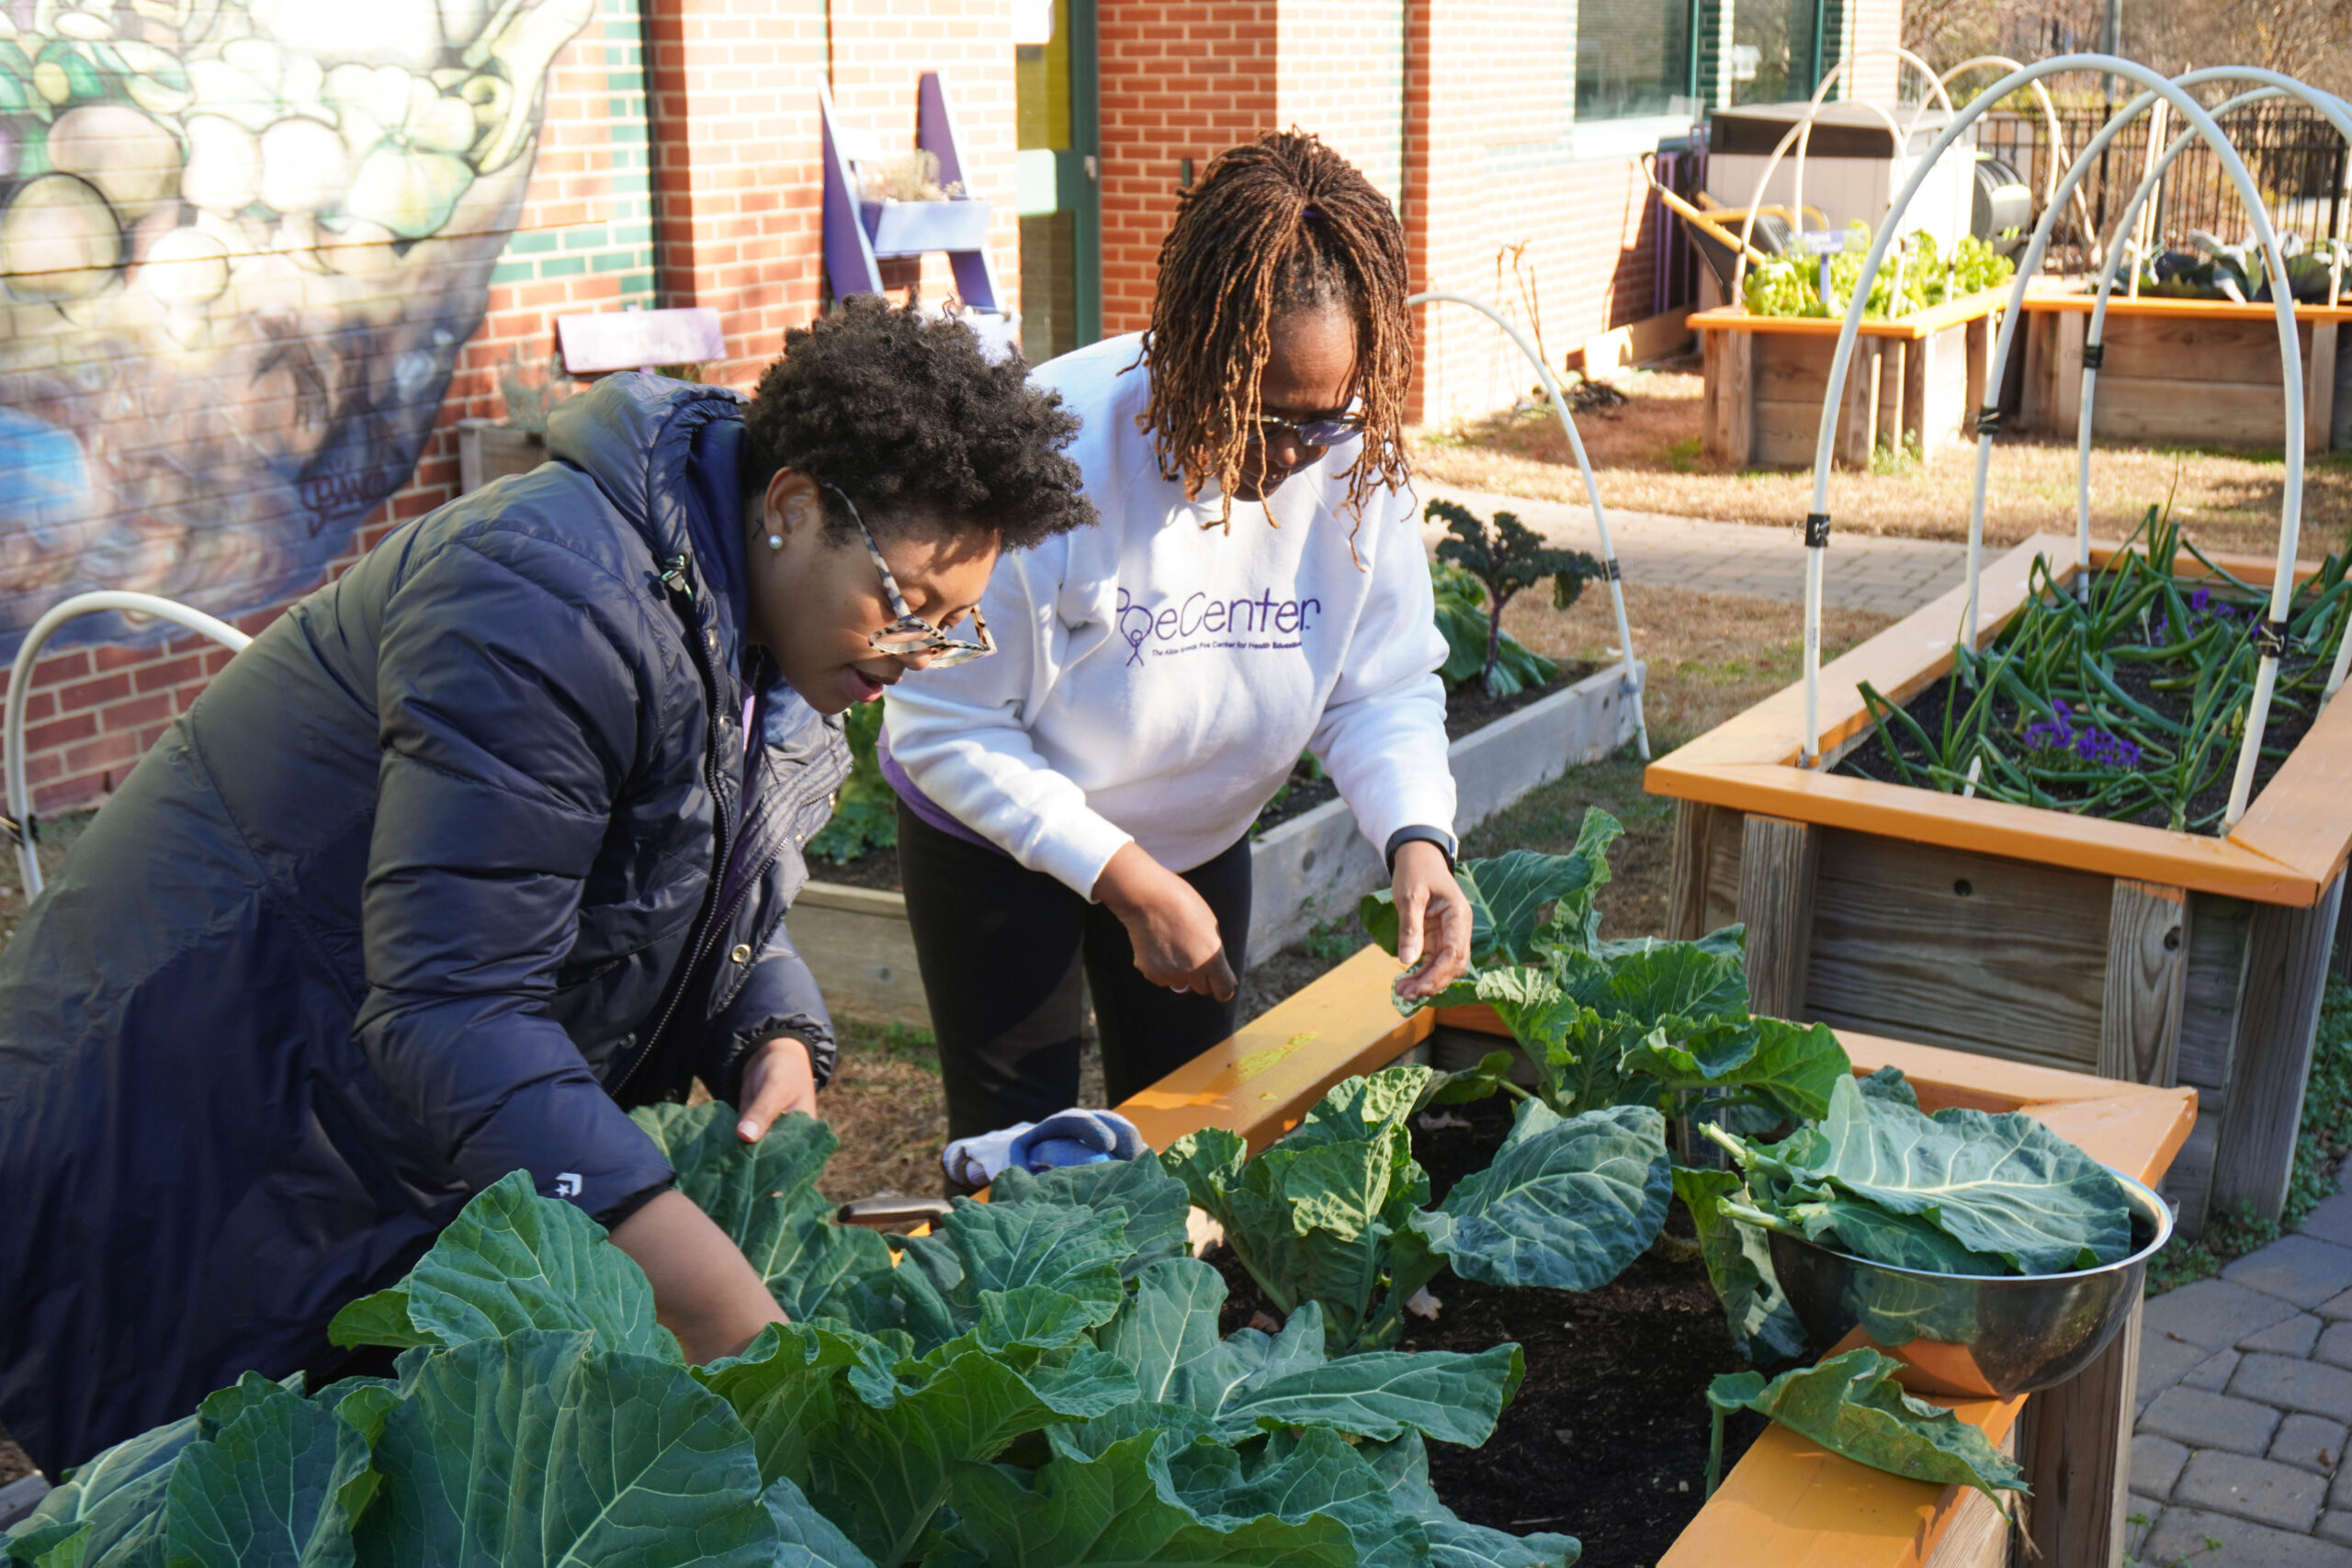
produce waste ready to be composted.

Food Preservation and Waste Reduction

In the February 2023 Garden-to-Kitchen blog, we introduced food waste reduction, discussed harvesting entire garden beds, and urged readers to let their gardens rest before the spring planting season. This month, we will examine different ways to preserve food as another means to tackle food-waste reduction.

Worldwide, one third of food produced goes uneaten, and 40% of food waste in the United States comes from consumers (Leah’s Pantry, “Food Smarts: Waste Reduction”). Using a variety of food preservation techniques at home, in the garden and kitchen, is a great way to help address this important issue.

Food Preservation:

While the garden beds are resting, make plans to use the harvested produce for meals now and in the future. While some produce can be stored fresh on the counter or in the fridge to be cooked in the coming weeks, remaining produce can be frozen, canned, or dried for future use. 

  • Freezing: Freezing produce is effective and accessible. Many people already have access to freezers and freezer bags. Frozen foods can be used for three to six months. Freezing for more than six months leaves foods susceptible to freezer burn and worsened quality. Several factors can impact the shelf life of frozen food and include properly blanching the food, packaging food in appropriate materials, and storing food at an acceptable temperature. Read about more tips on freezing.

Infographic on How to Blanch Vegetables by The Spruce

  • Canning: Canning refers to water-bath canning and pressure canning techniques. Products high in acid or sugars (pickles, jellies, jams) can be safely water-bath canned because they have low pH levels. Pressure canning is useful for soups, meats, and low-acid products because this technique stops bacterial growth and safely preserves foods. Kept out of the sun, properly canned products can have a 12 to 18 month shelf life.
    *Always use a tried-and-true canning recipe and procedure. Improperly canned products put you at high risk of e.coli and botulism, which can result in death.

  • Drying/Dehydrating: Drying, or “dehydrating,” foods is less popular than freezing and canning, but is an equally trusted practice historically. Dehydrated foods are lightweight, easy to store, easy to carry, and can require no preparation when eating (think dehydrated apple or strawberry slices). Drying can be done in a conventional oven, a special dehydrator, or even in the sun, if your location’s climate allows. Read here for more extensive directions on drying foods at home.


Winter Garden Harvest

You may be surprised to learn that households waste more food than restaurants, grocery stores, farms, and manufacturing facilities combined, according to the North Carolina Department of Environmental Quality. About half of household waste is food waste. This waste makes up 18% of landfills, making it the largest component found in most landfills. Additionally, 34 million people are food insecure in the US.

When it comes to gardening, food waste is an important topic to consider.

At the end of each garden season, most gardeners do a final harvest and clear out their beds in order to give the soil time to rest before adding new seeds and new transplants for the upcoming season. This big harvest day often yields a surplus of produce that is at risk of going to waste.

Over the next few months, Poe’s Garden-to-Kitchen team will share some tips and strategies for better harvesting and food preservation – so that you can help tackle food waste – starting in your own garden.

Harvesting

Many gardeners are often tempted to leave plants in their garden beds too long because the plants often still look good, or they may not be ready to plant for the next season. It is important to give your garden beds time to rest, which may mean harvesting and cleaning out beds earlier than you may think.

If you’re planning to sow seeds in March and transplant seedlings in April, strive to clean out your winter beds in February.

  1. Harvest all the produce first. Weigh and record the produce if you like to keep track of production. Bag and box the produce appropriately for the fridge or a cool dark pantry. Set aside to be gifted, eaten soon, or cleaned and preserved.
  2. Once the food has been harvested, pull everything else out of the beds, including the roots. This plant waste can be chopped and tossed in a compost pile with dry leaves on top pile with dry leaves on top to be used later as fertile soil. If your garden beds will be left undisturbed for many months (i.e. all of fall and winter), some gardeners recommend leaving roots in the soil to decompose.
  3. Once the garden bed has taken a long nap, amend your garden beds with compost in March. Conduct a soil test to determine the pH and nutrient content. This can be done by submitting a soil sample to your county’s Cooperative Extension.

A trio of photos displaying the cycle of harvesting broccoli

Preservation

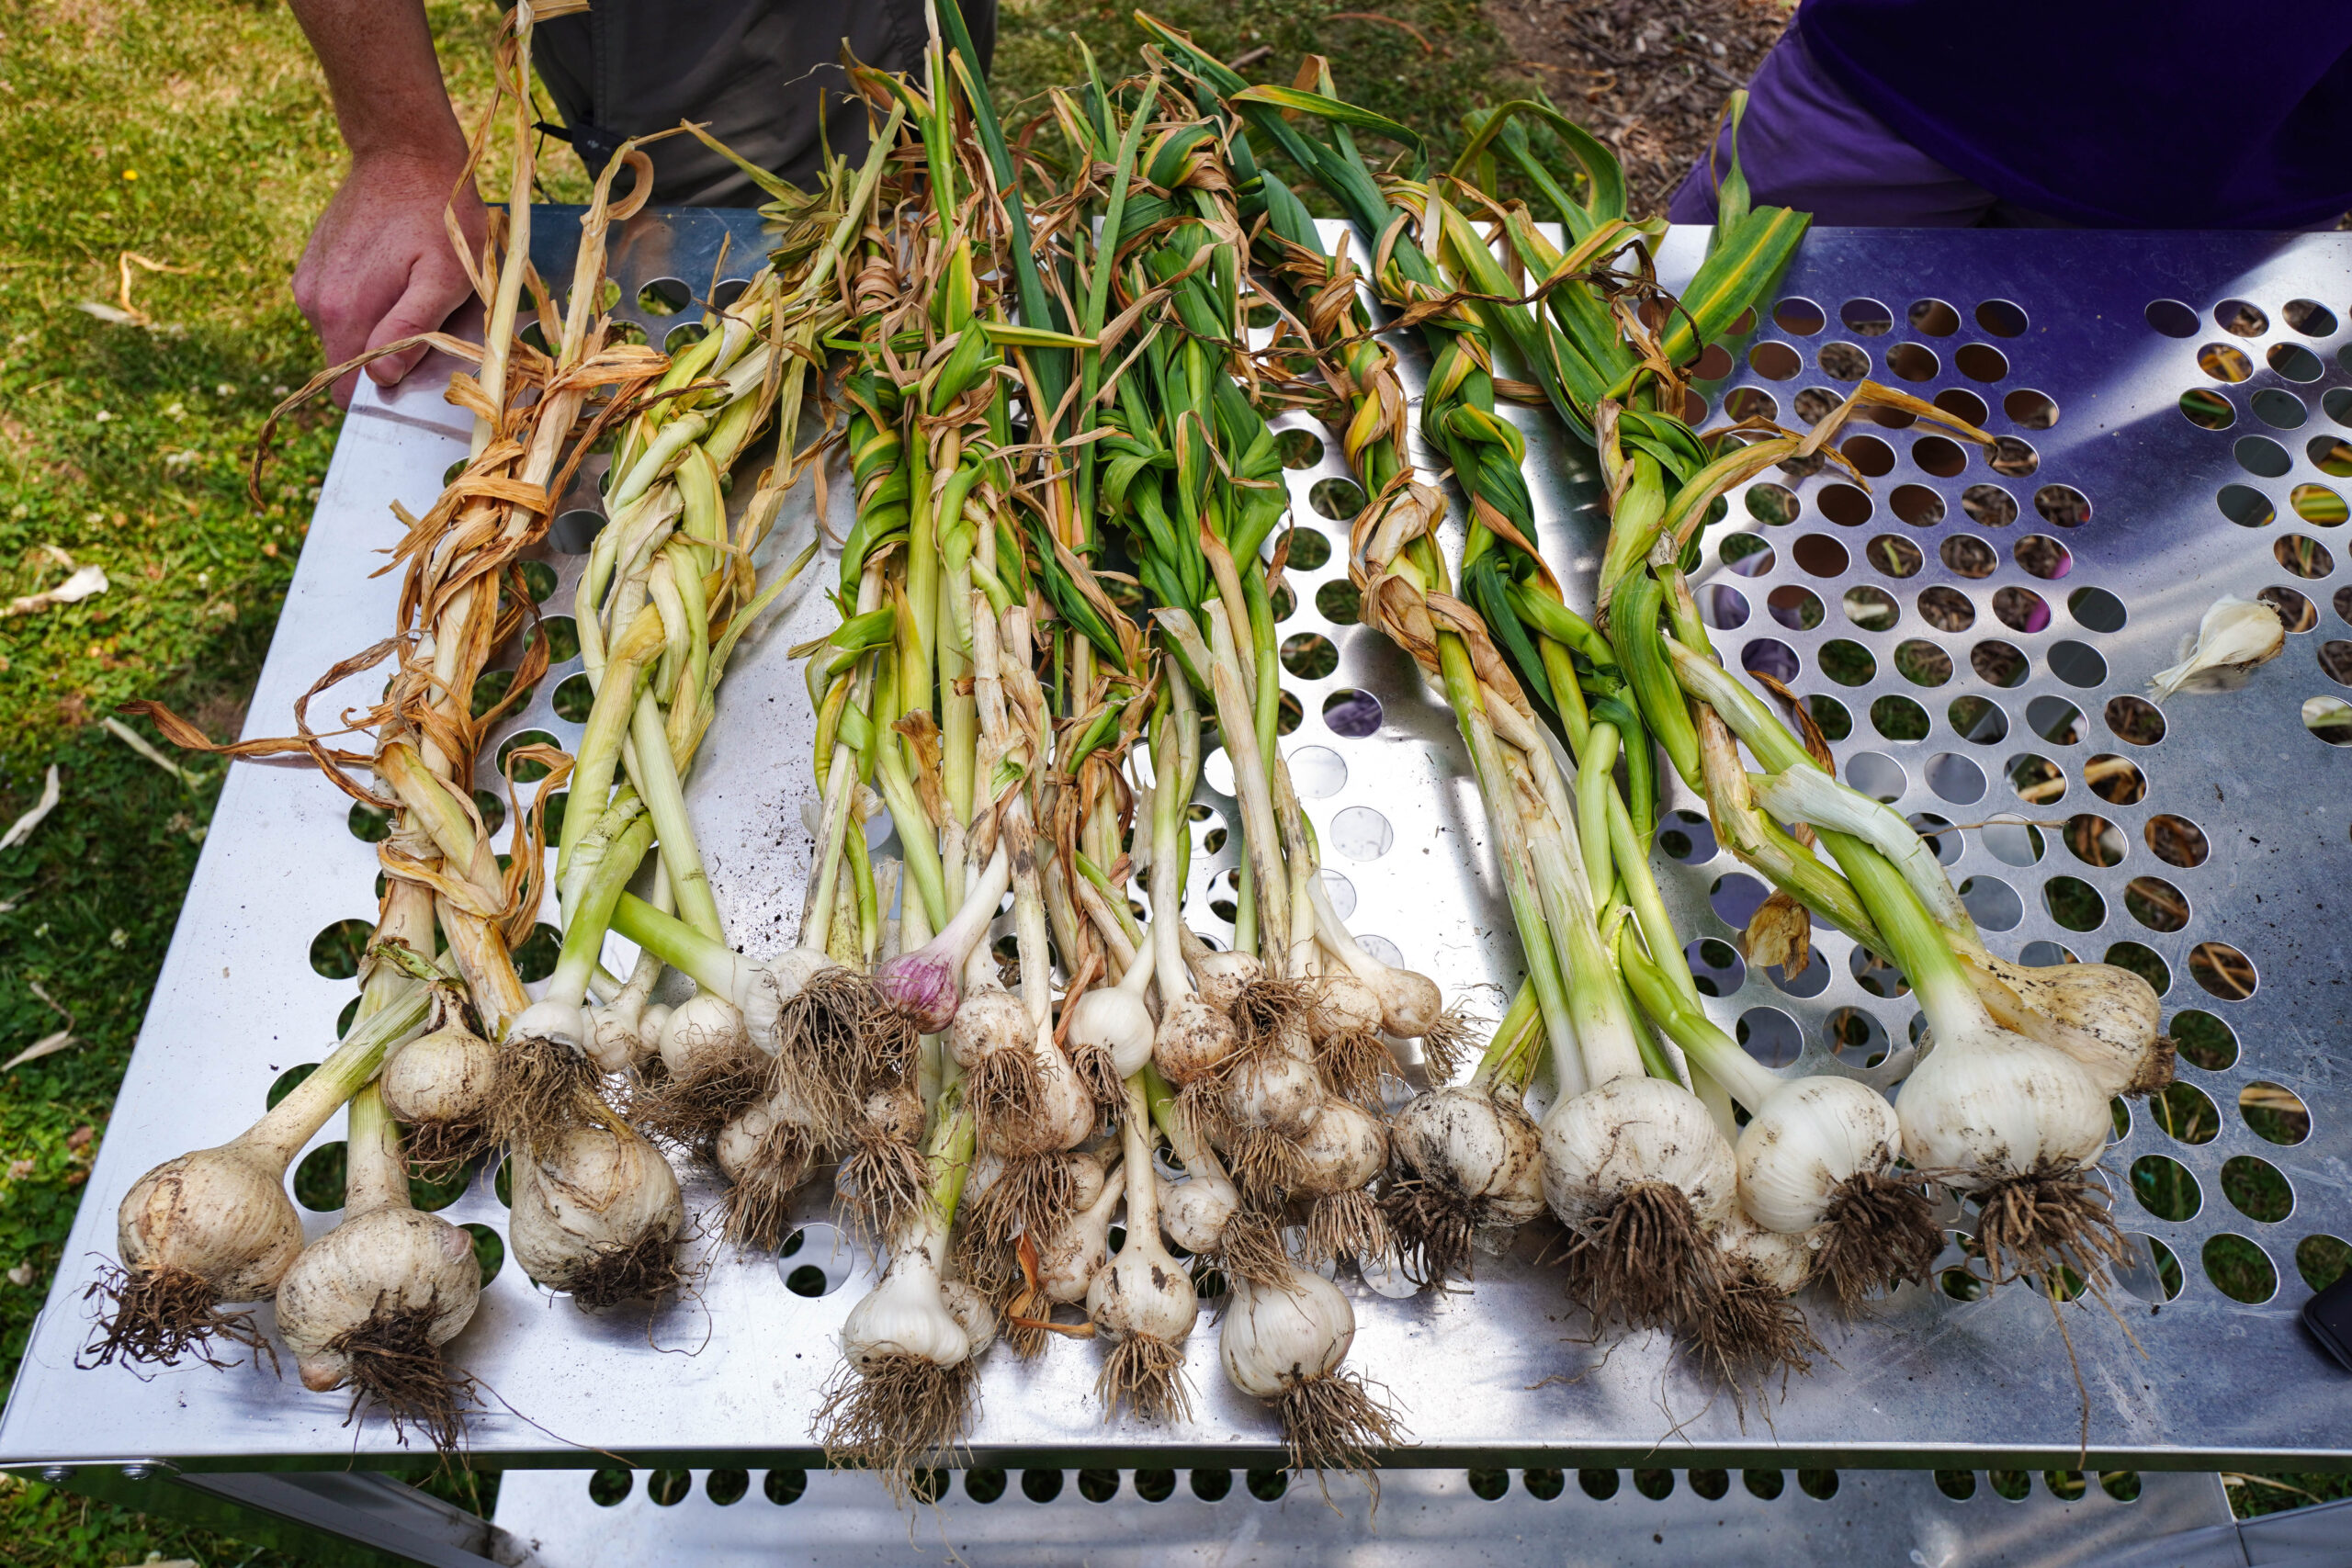
Some produce, such as melons, garlic, and onions, can be stored at room temperature in a cool, dark place. Perishables, such as collard greens, kale, brussel sprouts, and broccoli will benefit most from being stored in the fridge and used for meals within two weeks.

If you’ve got more produce than you plan to eat before it goes bad, consider gifting your harvest to others or preserving it for future use.

Food preservation includes freezing, drying, salting, and canning. Consider turning produce into a soup, stock, or prepared dish that can be frozen or canned. Pickling vegetables is another great way to keep your harvest fresh..

Kale Recipes

You can also use up your harvest and reduce waste by trying new recipes. Here are a few to try.

Further Reading

Come back next month for more information about reducing food waste and food preservation tips. April will be our first ever Garden to Kitchen vlog! In the meantime, read more about food waste reduction.


The kale plant growing in the wild

Kale All Winter

All hail kale! Kale is worthy of praise as one of North Carolina’s most cold-hardy and problem-free crops. This month, learn how to get the most out of your kale through the winter, as well as how to deter pests and diseases in the coming spring.

Winter Care:

  • Kale will grow in temperatures as low as 20°F.
  • If a hard freeze is expected, insulate the plants with something you have around the house, such as tarps, old sheets, cardboard boxes, or even overturned buckets.
  • Try to keep the kale leaves from coming in contact with the cold covers.

Vegetable patches with seedlings covered with spunbond and polyethylene film to keep humidity and from ground frost in the spring garden

  • Watering the soil 24 hours before a hard freeze can actually help kale defend against the cold since moist soil retains heat better than dry soil.
  • If ice or snow coats the leaves, resist the urge to shake it off. Let it melt naturally. Physically moving frozen leaves can damage plant cells and cause breakdown.
  • Keep harvesting those lower kale leaves all winter so your plants get the signal to keep growing younger, softer leaves.

Pests / Diseases:

Kale has relatively few problems when it comes to pests and diseases. Aphids, cabbage worms, and black rot are a few examples.

Luckily, you can take easy steps to prevent and treat most kale issues. Set your plants up for success by practicing crop rotation – try not to plant kale, or other crops in the “brassica” family (ie. cabbage, broccoli, brussel sprouts, etc), in the same location more than once every 3-4 years.

If your kale does appear stressed (holes, discoloration, dying leaves, etc), the recommended treatment is usually in the short list below.

  • Physically remove pests by hand or water stream.
  • Spray leaves with an insecticidal soap.
  • Remove infected plant parts.
  • Add native plants so beneficial insects will come and eat the pests.

Learn more about specific kale pest/disease symptoms and control measures.

To the Kitchen:

Kale is an excellent source of Vitamin C, as well as other vitamins and minerals, and a great leafy green for its versatility. Read below to learn about kale preparation and explore delicious kale recipes.

Preparation of younger leaves:

More tender and most appropriate for salads, such as the one featured below.

Try massaging leaves with oil or salad dressing. This breaks down tough cellulose for a softer mouth feel texture while eating.

Preparation of older leaves:

If you’re not picking kale leaves straight from your garden every other day (most of us aren’t), chances are you have access to older, tougher leaves, rather than the younger, more tender leaves.

These bigger leaves are still delicious and are best sauteed, steamed, or incorporated into a soup.

Kale Recipes

Dark leafy greens, such as kale, contain lots of nutrients and are a great source of fiber. Kale is a cruciferous vegetable, quite versatile, and can be eaten raw or cooked.

If you don’t consume much dairy, consider dark leafy greens as a source of calcium. Kale is also a great source of iron, B Vitamins, and Vitamin C.


The kale plant growing in the wild

Kale Maintenance & Harvesting

Did you know that a kale plant can grow for 2 years and become as tall as you? It’s true! With strategic harvesting and care, the kale you plant this fall will feed your family for seasons to come. Learn more about kale maintenance, harvesting, preparation, and recipes that include kale in this month’s Garden-to-Kitchen blog.

Maintenance Tips:

  • Water Regularly: Although fairly drought tolerant, 1-1.5 inches of water each week will help kale leaves grow quickly, which improves flavor. When watering, aim water towards the roots.
  • Add Extra Mulch: 2-3 inches of mulch will help retain moisture and keep this cool season crop from getting overheated if temperatures rise above 75°F. The mulch will also help keep the roots warm during frigid winter days.
  • Fertilize: If your kale is growing poorly or turning yellow, you may have a nutrient problem. Consider side-dressing with a high-nitrogen fertilizer.
    *Side-dressing means to place a line of fertilizer about 4 inches from the stem on both sides of the plant.

Harvesting Tips:

Harvesting is one of the most important and easiest parts of kale maintenance. Don’t stop harvesting! It’s fun to continue to pick for desired tastes and textures.

  • Mature leaves are ready to harvest when they are about the size of your hand.
  • Pick the larger outer leaves to keep the plant producing. Cutting the top off the plant will slow growth considerably.
  • Take no more than 1/3 of the leaves at a time.
  • Pick younger leaves (1-3 inches long) for a softer texture that’s great in salads.
  • Wait for the first freeze or colder temperatures for a sweeter tasting leaf.
  • Harvesting is a great task for kids because the plant is tough, and the leaves tend to snap off easily if pulled in a downward direction.
  • Keep harvesting those lower leaves! Over time, your kale plant may look something like an umbrella.
  • Share extra harvest with friends, neighbors, chickens, or consider freezer storage.

To the Kitchen:

Kale is an excellent source of Vitamin C, as well as other vitamins and minerals, and a great leafy green for its versatility. Read below to learn about kale preparation and explore delicious kale recipes.

Preparation of younger leaves:

More tender and most appropriate for salads, such as the one featured below.

Try massaging leaves with oil or salad dressing. This breaks down tough cellulose for a softer mouth feel texture while eating.

Preparation of older leaves:

If you’re not picking kale leaves straight from your garden every other day (most of us aren’t), chances are you have access to older, tougher leaves, rather than the younger, more tender leaves.

These bigger leaves are still delicious and are best sauteed, steamed, or incorporated into a soup.


The kale plant growing in the wild

Intro to Kale

It’s finally time for cool-weather crops, a favorite time of year for many gardeners. Among the cool-weather crops are leafy greens, such as kale. Kale is packed with vitamins and minerals, especially Vitamin C. Learn more about growing preferences, planting tips, highly ranked kale varieties, and recipes that include kale in this month’s Garden-to-Kitchen blog.

Growing Preferences:

  • Plant in the fall, kale prefers 25-75°F.
  • Kale prefers neutral to alkaline soil.
  • Transplant seedlings with generous spacing.
  • Kale prefers full sun, but will tolerate partial shade.

Highly Ranked Kale Varieties:

  • Plant kale six weeks before your first frost date in the fall for an autumn and early winter harvest.
  • Seeds should be planted in rows 1 inch apart and can be thinned to 8-12 inches apart.
  • Seedlings can be transplanted 12 inches apart.
  • Kale will do better with fertilized soil, a thick layer of compost, and mulching.

Kale leaf on a kitchen towel laying on a table.

Planting Tips:

  • Dwarf Siberian: A Russian variety that produces 16-inch plants with slightly frilled leaves.
  • True Siberian: Fast growing 24 to 30-inch plants with large, frilly, blue-green leaves. They are cold hardy and can be picked all winter in some areas.
  • Red Ursa: A cross between ‘Red Russian’ and ‘True Siberian.’ They produce 24 to 30-inch plants that are bolt-resistant and heat-tolerant similar to ‘Red Russian,’ but the leaves are more rounded and curved at the ends.
  • Premier: Bolt-resistant plants that produce smooth, deep green leaves with scalloped edges. This variety remains compact when over-wintered, while developing new growing points on the main stem.
  • Redbor: Hybrid plant with curly, maroon-red leaves that grow to 2 feet. This variety is quite cold-hardy and does best in the fall. Plants can grow to 5 feet in long growing season conditions.

Note: Bolting is the term used when vegetable crops prematurely produce seed, which causes plant growth to stop. This can be caused by a cold spell.

To the Kitchen: Kale Recipes

Kale should be rinsed thoroughly to remove sand and dirt that has accumulated on the leaves and stems. Cleaning methods include running under water leaf-by-leaf, soaking in a clean sink basin, or even using a salad spinner.

Kick-off the fall season with one of these kale recipes:


Poe Center Health Educators and Eggplants

Farm to School: Its Importance and How to Get Involved

Farm to School: Its Importance and How to Get Involved

In honor of upcoming National Farm to School (F2S) Month in October, we interviewed local F2S experts Remi Ham and Tracey Bates to showcase the importance of farm to school, and learn a little more about how to get involved.

Remi Ham, MLA

Assistant Teaching Professor
Cooperative Extension Farm to School Coordinator
Department of Horticultural Science
North Carolina State University

Tracey Bates, MPH, RDN, LDN, FAND

School Nutrition Promotion Specialist
Co-Chair for the Farm to School Coalition of North Carolina

What is Farm to School?

Remi’s Answer

Farm to School connects local agriculture, schools, and partners to benefit students, educators, farmers, families, and communities. These programs support local food procurement, school gardens, and nutrition education.

School nutrition professionals, teachers, administrators, school nurses, school health coordinators, local farmers, students, families, policymakers, and community organizations each have an important role in building capacity for and establishing a sustainable farm to school program.

For more information visit CEFS Farm to School.

Tracey’s Answer

Farm to School can vary across settings, but it always includes one or more of the following: purchasing, promoting, and serving local food as part of school meals, snacks or taste tests, interactive learning through gardening, and/or engaging educational activities related to agriculture, food, health, or nutrition.

What is your role with Farm to School?

Remi’s Answer

NC Cooperative Extension Farm to School Coordinator and Co-Lead of Cooperative Extension Local Food Farm to School Working Team.

Tracey’s Answer

Farm to school is woven into my work as a School Nutrition Promotion Specialist with the Office of School Nutrition, North Carolina Department of Public Instruction. In this role, I develop resources and identify best practices to assist local education agencies (LEAs) in implementing, expanding, or enhancing farm to school activities and programming. This includes agriculture, nutrition and health place‐based education, school gardens, procurement of local agricultural products, and incorporation of local agricultural products into school menus.

I also have the honor of serving as Co-Chair for the Farm to School Coalition of North Carolina, which is dedicated to connecting local agriculture with schools, engaging with students and communities, and advancing a more equitable and just food system.

Why do you think Farm to School is important for NC?

Remi’s Answer

Farm to School helps to support a healthier food system across North Carolina. This community driven effort is at the heart of improving both health and wellness for children and the school communities’ they are connected to.

F2School Programing Examples:

  • School nutrition professionals and farmers can work together to increase the procurement of local food for school meals and snacks. This also helps tell the story of local food systems.
  • Teachers and school nutrition professionals can teach and promote farm to school to students and their families to increase the consumption of healthy foods.
  • Students, families, and community organizations can advocate for farm to school programming in their local school districts.
  • School administrators and policymakers can establish policies and practices in support of farm to school.

Tracey’s Answer

Farm to School connects local agriculture, schools, and partners to benefit students, educators, farmers, families, and communities.

Experiential education offered through farm to school activities improves academic performance, supports social emotional learning, and helps students, school staff, and their families learn more about and appreciate how food is grown, harvested, distributed, prepared, and served. This knowledge can help kids and adults to make more informed food choices to support not only their health but also their local communities.

Purchasing of local food by schools for meals, snacks, and taste tests provide additional market opportunities for farmers.

What can we look forward to with Farm to School this coming year?

Remi’s Answer

In the upcoming year, we are developing an online training course – The NC Farm to School Training Initiative (NCFSTI). This initiative has three significant project goals.

First, is to develop an online educational training platform for individuals, groups, and entities seeking to implement and support more resilient food systems for our school communities. This goal is supported through an online certificate program featuring a diverse range of educational modules. Modules will include an introduction to farm to school, how to build farm to school teams, how to establish a school garden classroom, incorporating cooking in the classroom, racial equity, strengthening local food procurement, farm field trips, improving student engagement, and program evaluation. Participants can take all modules of this online training for course certification, or by choosing training modules of interest.

A second goal of the NCFSTI is to create free and easily accessible online tools for continuing education and outreach.

Last, the NCFSTI will work to provide partners mechanisms for developing communities of praxis and sharing in the advancement of farm to school in NC.

The North Carolina Farm to School Training Initiative is supported by the National Institution of Food and Agriculture Grant. We hope to launch this training in 2023.

Tracey’s Answer

Farm to School and Early Care and Education Month is celebrated in October. The North Carolina Crunch, hosted by the Farm to School Coalition of North Carolina and the N.C. Farm to Preschool Network, is an opportunity for kids and adults to taste and learn about North Carolina-grown fruits and vegetables and honor all those involved in feeding our kids and communities.

The Farm to School Coalition of NC is currently offering a Racial Equity in Farm to School virtual workshop series that will run through the fall. Everyone can look forward to these and other professional development opportunities from the F2SCNC and our partners. Through the NC Jr. Chef Competition, high school students can work with their teachers and local School Nutrition Programs to create a school lunch entrée recipe that appeals to students, features North Carolina-grown ingredients, and adheres to federal nutrition regulations for a chance to win scholarships. Be on the lookout for the timeline, guidelines, and other details for the 2022-23 competition.

eggplant fruits growing in the garden

How can parents, teachers, or community members get involved?

Tracey’s Answer

Schools, early care and education centers, agencies, organizations, businesses, individuals, and families can participate in the N.C. Crunch. Folks can sign up to receive a free guide with tips, resources, and templates to promote farm to school and early care and education and celebrate the N.C. Crunch. Learn more and sign up for the N.C. Crunch.

Everyone can be involved with the Farm to School Coalition of North Carolina. Check out our website at
https://www.farmtoschoolcoalitionnc.org to learn more, follow us on social media at @F2SCoalitionNC, and sign up for our listserv to receive the latest info on events, professional development opportunities, grants, resources, and more.

Remi’s Answer

Websites to connect with F2S activities, trainings, and events:


Follow our Garden to Kitchen blog each month for great tips
and insights on growing and cooking edible plants:

Explore Now

Get this great content delivered directly to your inbox.
Subscribe to our monthly nutrition email newsletter.


Grandmother and grandchildren working in garden

Planning for Fall/Winter Gardening

If you are thinking about planning a fall/winter garden, August is a great time to establish many cool-weather crops – so let the planning start.

Think about your location and how much sunlight you get. Most fruits and vegetables require at least 6 hours of direct sunlight per day, although 8-10 hours is even better.

Get to know your soil. The ideal soil for vegetables is fertile, deep, well-draining, and within the pH range of 6-6.5. Do your best to create ideal conditions for your plants in advance. If you don’t have perfect conditions, don’t worry, give it a try and see what thrives.

Plant what you enjoy eating. Try to plan a variety of colors to encourage a wide range of vitamins and minerals – carrots, broccoli, brussel sprouts, leafy greens such as kale, collards, or swiss chard, beetroot, cabbage, leeks, and cauliflower. If you select foods that match well with your specific growing conditions, you will be more likely to have a plentiful harvest.

For example, did you know leafy vegetables and root vegetables are better at tolerating shade? This includes lettuce, collards, kale, cabbage, spinach, carrots, beets, radishes, and more.

Full background of roasted colorful autumn vegetables, above view

Consider timing before you begin to plant. Use Poe’s Vegetable Planting Guide for Central NC, or the Cooperative Extension Planting Guide for NC for details on what to plant and when.

  • You may prefer to start seeds indoors to get a start on fall crops while your summer crops are still producing. This overlap can also help ensure your frost-sensitive crops will reach maturity before the freezing temperatures arrive. Be sure to check the seed packet for when to start seeds indoors for your area.
  • If you’re looking for particularly hardy crops that will continue to produce food through the winter, a few favorites include: collards, mustard greens, kale, root veggies, and cilantro.
  • You may think we forgot to mention some fall favorites like pumpkin and sweet potatoes. They are delicious in fall recipes and ready to harvest in the fall, however, need to be planted in the summer.

Time for planting. Make a map of your garden and mark off where you planted everything. This is not necessary, but it is a fun visual to keep as a reminder of plants that need your attention.

  • Before planting your fall crops, it is often helpful to incorporate organic compost into the top 4 inches of soil. Leaving the deeper soil intact helps preserve a healthy soil structure that beneficial earthworms, bacteria, and fungi have worked hard to establish.
  • You can incorporate compost in stages or all at once depending on your gardening style. By gently stirring compost in between late summer crops that are still producing, you can overlap the growing seasons and increase yield. If your summer crops are spent, you can remove them all and incorporate your compost all at once.

Recipe Card

Bowl Ingredients:

  • 1 cup canned chickpeas, drained, rinsed well and patted dry (optional to replace with baked chicken)
  • 1 small bunch of broccoli, cut into mini florets (about 3 cups)
  • 1 tablespoon oil
  • salt and pepper
  • 1 cup uncooked quinoa
  • 2 cups water or stock
  • 1/2 cup fresh parsley, roughly chopped

Dressing Ingredients:

  • 5 tablespoons extra virgin olive oil
  • 1-2 tablespoons pure maple syrup
  • 1 tablespoon apple cider vinegar
  • 1 teaspoon Dijon mustard
  • Pinch of salt
  • 1/8 teaspoon dried dill (optional)
  • Garnish with extra parsley, sliced green onions, dried cranberries or raw pumpkin seeds

Directions for the Bowl:

  1. Preheat oven to 400 degrees and line a baking sheet with parchment paper or a baking mat.
  2. Transfer chickpeas and broccoli to the prepared baking sheet and drizzle with 1 tablespoon oil and sprinkle with a pinch of salt and pepper.
  3. Roast in the oven for 25-30 minutes, or until chickpeas are crispy and broccoli is browned and tender, being sure to stir the broccoli mixture half way through.
  4. While the veggies are roasting, make the quinoa. Add quinoa to a medium-sized pot over high heat with 2 cups of water or stock. Bring to boil, then reduce heat to low, cover and let quinoa cook until all the water is absorbed, about 12 minutes. If using brown rice, cook according to package instructions.
  5. Remove from heat and let quinoa or rice cool slightly.

Directions for the Dressing:

  1. In a large mixing bowl, whisk the oil, maple syrup, vinegar, mustard, salt and dill (if using) until smooth and consistent.

Bowl of Roasted Broccoli and Chickpea Quinoa on a table.

Assembling the Bowl:

  1. Set aside a small amount of the dressing.
  2. Fold the slightly cooled quinoa into the dressing in the large mixing bowl. Add in about 1/3 of the roasted broccoli and chickpea mixture along with the chopped parsley and mix until well combined.
  3. For serving, portion quinoa or rice into about 4 portions and top each portion with remaining roasted broccoli and chickpeas. Garnish with sliced green onion, more parsley, dried cranberries or raw pumpkin seeds. Drizzle remaining dressing on top.


Tart's Strawberry and Produce Farm Logo

Tart's Strawberry & Produce Farm

For this month’s Garden-to-Kitchen series on tomatoes, we visited the State Farmers Market in Raleigh, NC. Follow garden health educator, Catherine Wills, as she shares her experience learning how Tart’s Produce grows and sells tomatoes.

I recently took a trip to the State Farmers Market to learn more about how NC farmers sell tomatoes. Of course, I also bought some produce – I couldn’t resist! When I walked into the market, my attention was immediately caught by a display of bright, beautiful tomatoes, and I made my way over to Tart’s Strawberry and Produce. At the stand, I met an employee of Tart’s and had a conversation all about tomatoes.

Tart’s Strawberry and Produce, owned by Charles Tart, is a family-owned business located in Dunn, NC. They are primarily known for growing strawberries, but their tomato selection is equally impressive. They also sell other produce, such as corn, squash, okra, and cucumbers.

They recently expanded their retail area at their Dunn location to include a gift shop with a bakery and a variety of homemade jams, jellies, and preserves. Find out what’s available now on Tart’s Produce Facebook page.

Charles Tart, owner of Tart's Strawberry and Produce

Let’s talk tomatoes. Tart’s had a diverse variety of tomatoes including Trust, BetterBoy, Heirloom, Roma, Grape, and Cherry. We discussed that Tart’s has perfected their selection of varieties over the years based on what grows best and what the customers request. Tart’s typically sells tomatoes from May-July/August and will have more varieties later in the season.

I asked about Tart’s process of storing and transporting their tomatoes. Tart’s tomatoes are picked fresh and stored at room temperature until ready for transport. I browsed their selection of tomatoes and asked how to pick the perfect tomato. It’s all about the senses! To pick the ripest tomato, aim for a deep, vibrant color and make sure it’s somewhat firm but not too hard. I was let in on a secret: Don’t skip the imperfect or misfit tomatoes, they’re usually the best ones.

With that good advice in mind, I confidently bought a BetterBoy tomato. When I got home, I knew exactly how I wanted to enjoy my fresh tomato. I simply sliced the tomato with cucumbers and seasoned it with salt and pepper. I added a splash of apple cider vinegar and voila! I enjoyed a refreshing summer salad.

Tart’s Strawberry and Produce
100 North Powell Avenue
Dunn, NC 28334
910-892-1324
https://tartsstrawberryproduce.net/
[email protected]

Tart's Tomato Salsa